You’ve just gotten the keys to your new home and you’re all ready to move in. Before you settle in, you’ll want to do a thorough cleaning of your home so that you and your family can get off to a great, clean start!
What’s the difference between regular cleaning and move in cleaning?
Regular cleaning is the daily or weekly routines you take to maintain the cleanliness of your home. This includes:
- sweeping and mopping the floor,
- washing the toilet and
- cleaning the kitchen and dining area
On the other hand, move in cleaning is a thorough cleaning that’ll take you through all areas of the house, from the ceiling to walls, windows and floors. With this, you’ll be ready to move your furniture into your new home!
Now that you know what you’re getting yourself into, read on for our 11-step guide to a proper move in cleaning with some additional tips from an expert!
P.S: Cleaning with effective products helps save time and lets you achieve longer lasting results. Check out these value bundles to get yourself prepared!
1. Before cleaning your home
Check for defects
Before you begin cleaning, you’ll want to check your new home for any defects so that you can get them fixed before you settle in.
Some common areas that you can check include your:
- Walls: Check your walls for any brush marks or signs of a poor paint job
- Ceiling: Your ceiling should be smooth and free of any cracks or peel-offs
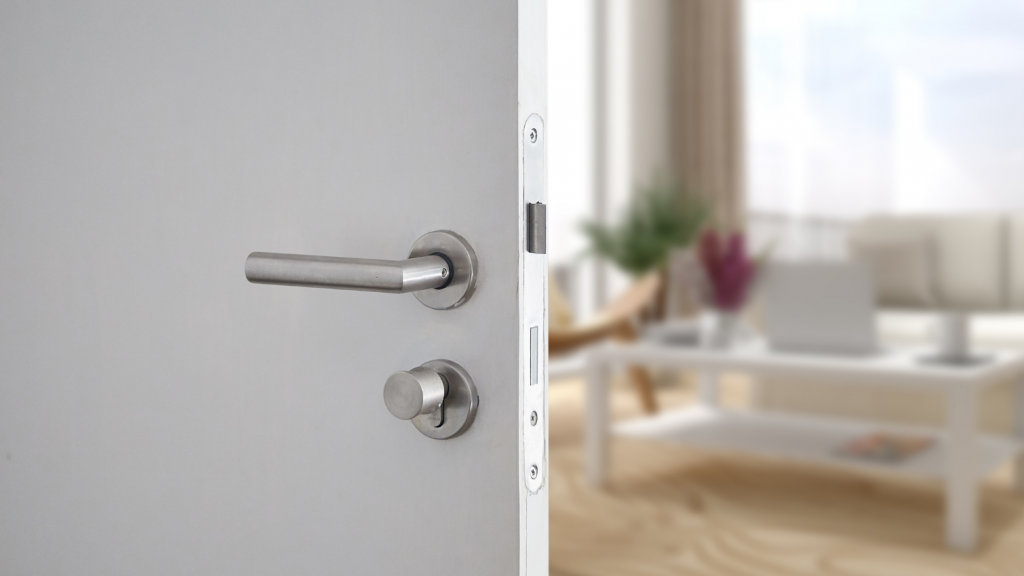
- Doors: Check the fitting of your door handles, locks and hinges and ensure that there are no stains. Same goes for your shower doors
- Floor trap: Your floor trap shouldn’t have any stains or signs of rusting
These areas can be easily fixed with some DIY. However, if you notice more serious defects such as chipping or water leakages, it’s best to contact a professional handyman for help.

Prepare your cleaning tools
According to Pierre, home cleaning expert from MEIDE, these are some of the key tools you’ll need for your move in cleaning:
- Broom and dustpan
- Mop
- Sponge
- Duster
- Toilet brush
- Toilet scrub
- Microfibre towels
- Cleaning detergents such as multipurpose cleaners
- Face mask*
*Wearing a face mask during the cleaning will ensure that you don’t inhale any dirt and dust in the process!
You may also wish to prepare these additional tools:
- Vacuum cleaner
- Wiper stick
- Disinfecting wipes
2. Cleaning your living room and bedroom
Now that you’ve checked and rectified any defects in your new crib, you’re ready to begin your thorough home cleaning!
Note: It’s a good idea to start from the bedroom first before moving on to the living room, and regardless of the space, you’ll want to clean from top to bottom since dust falls downward!
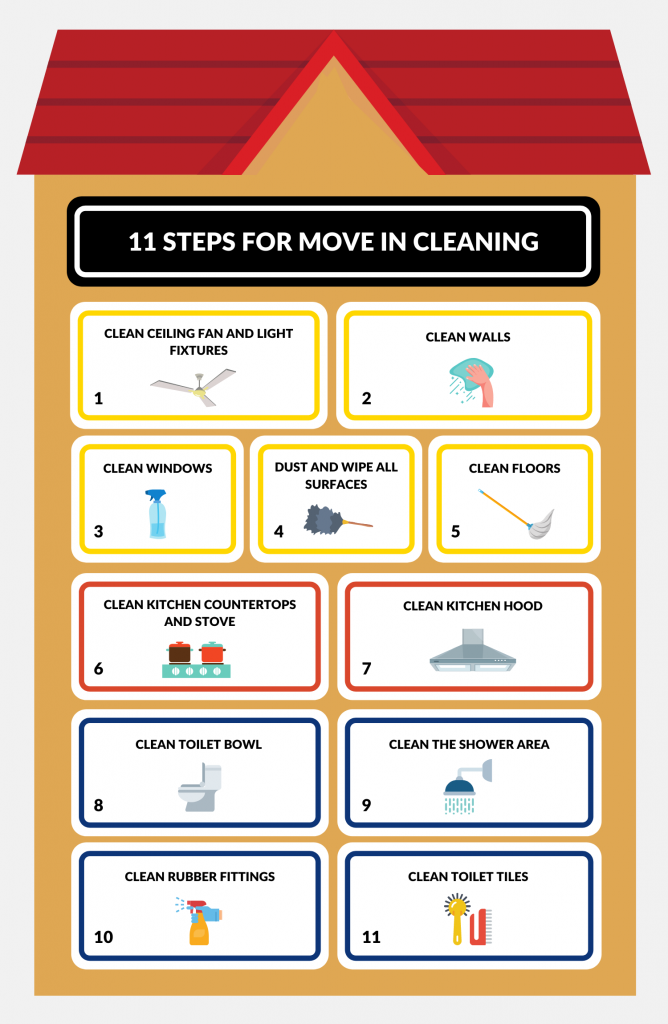
Step 1: Clean ceiling fan and light fixtures
Your ceiling fan and light fixtures can accumulate lots of dirt and dust, especially after renovation works. Before settling in, you’ll want to make sure that you give them a proper cleaning.
You can first use a duster to remove any dry dust before using a damp microfiber cloth to wipe off any remaining dirt on the fan blades and light fixtures.
Step 2: Clean walls
Now that you’ve settled the ceiling fixtures, it’s time to clean the walls!
To remove any dust that may have gotten stuck on your walls during renovation, use a wiper stick to pick up the dust. This will save you the trouble of using a ladder!
Next, attach a damp microfibre cloth to a wiper stick and wipe the walls from top to bottom. Finish off by drying it with a cloth!
Tip: Remove stains with baking soda
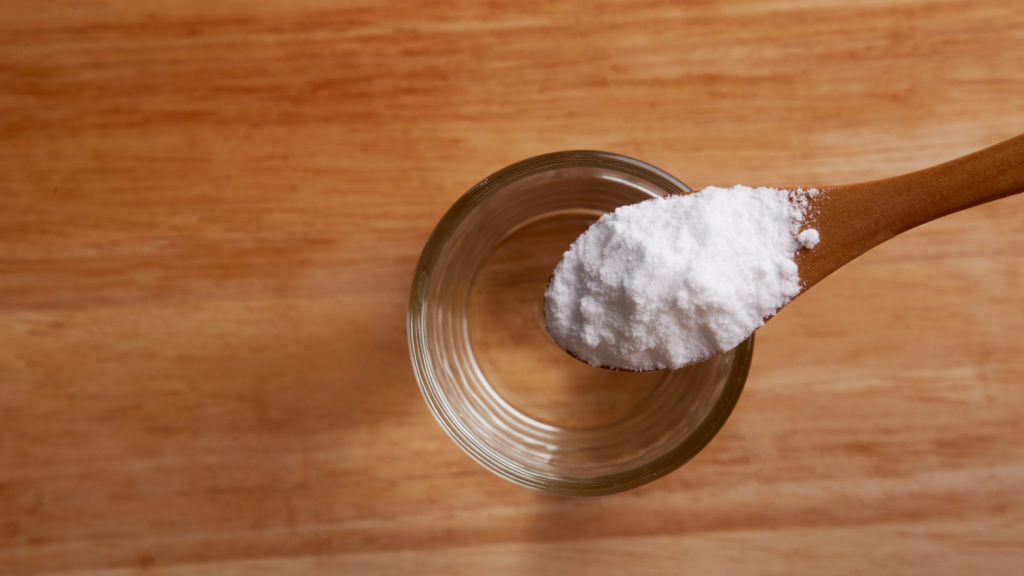
If you notice stains on your walls from the renovation, you can try out this natural cleaner!
With ¼ cup of water, mix in ½ cup of baking soda until you get a paste. Gently apply the paste to the stained section of the wall and watch the stain lift!
Note: Depending on your wall surface, the solution may react differently. Hence, before applying it to a large section of the wall, make sure to try it out on a small, hidden section of the wall first!
Step 3: Clean windows
Dirt and stains on the window glass can become especially obvious when the light hits. Thus, cleaning your windows is an important step that you won’t want to miss out on!
For an easy cleaning solution, grab some glass cleaning wipes and give your window a good wipe.
Step 4: Dust and wipe all surfaces
With your living room, bedroom walls and windows cleaned, the last step before cleaning your floors is to wipe all the surfaces of your built-in furniture. This includes the interior and exterior of your built-in cabinets, wardrobes and more.
Antibacterial sheets are also great for sanitising these surfaces before unpacking so you can be sure that you’re moving into a clean, fresh home!
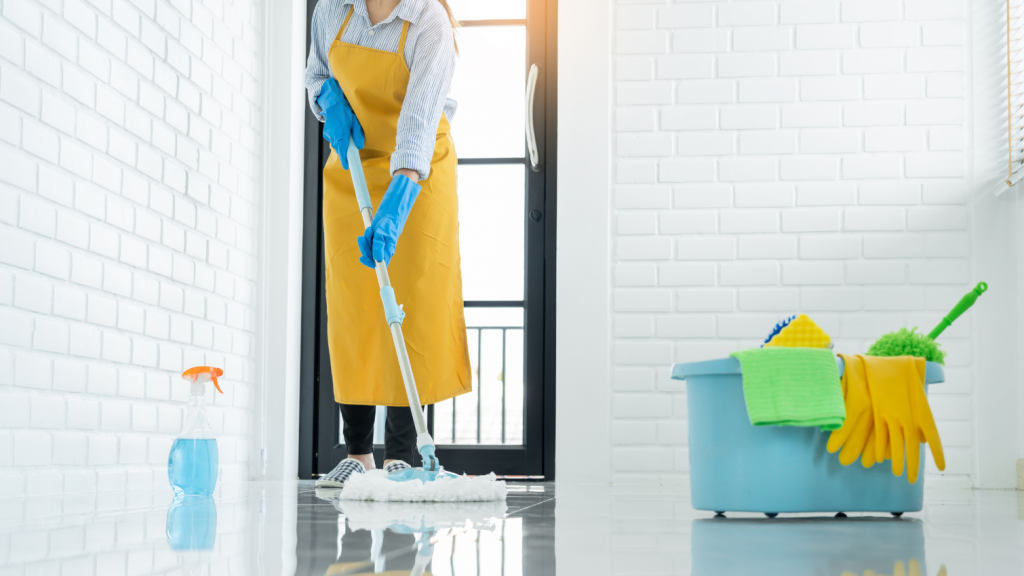
Step 5: Clean floors
To prevent dry dust from flying around the house as you sweep the floor, you can use a Magiclean wiper stick to pick up dust.
Once you’re done with that, you’ll want to mop your floors to give it a nice, brilliant shine!
3. Cleaning your kitchen
Step 1: Clean kitchen countertops and stove
Since you’ll be preparing food for your loved ones here, you’ll want to make sure that your kitchen countertops and stove are clean and ready for use!
- Mix some dishwashing liquid with warm water in a bowl
- Dip a kitchen cloth into the solution and give the kitchen countertop and stove a good wipe
- (Optional) You can also use some disinfecting wipes as the last step to ensure that you have a clean, bacteria-free kitchen!
Note: If you have a wooden countertop installed, wipe it with a dry cloth after cleaning to prevent any water damage.
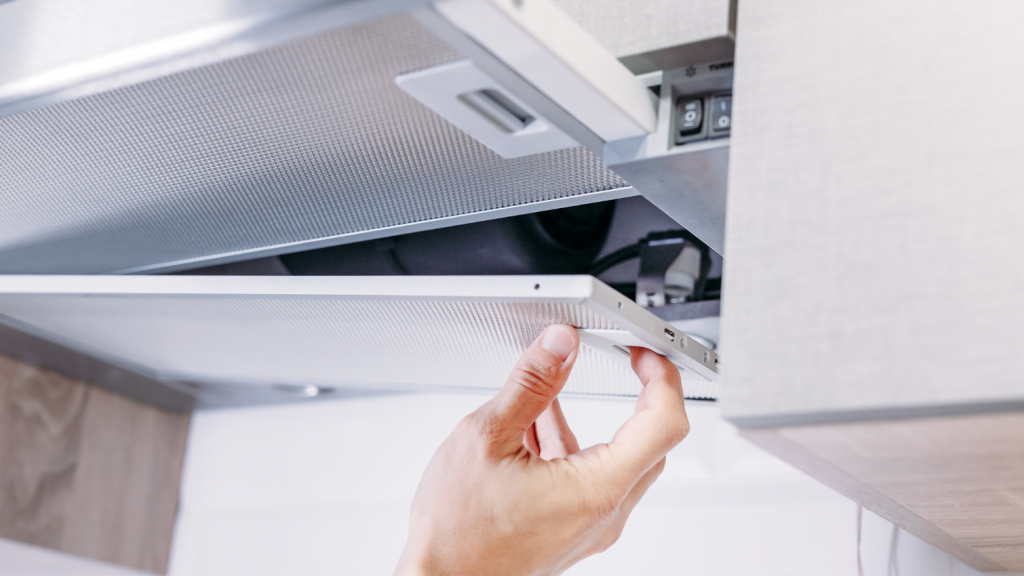
Step 2: Clean kitchen hood
As your kitchen hood is installed directly above your stove where you’ll be cooking food, you’ll want to remember to clean the filters thoroughly before use! This is especially important if you’re moving into a resale flat that has had a hood installed previously.
All you’ll need for this task is some boiling water, dishwashing liquid and baking soda:
- Fill your sink or a large pot with enough boiling water to submerge the filters
- Add ½ cup of baking soda and some dishwashing liquid to the water and mix the solution
- Let the filters sit in the solution for at least 10 mins
- Take them out carefully and scrub them
- Rinse them with some hot water and let them dry completely before fitting them back onto the hood
4. Cleaning your bathroom
Step 1: Clean toilet bowl
The toilet bowl is bound to be one of the most frequently used areas of the house so this is a step that you definitely won’t want to miss!
Squirt some toilet cleaner around the bowl and scrub well with a toilet scrubber. Make sure that you reach all the little nooks and crannies too!
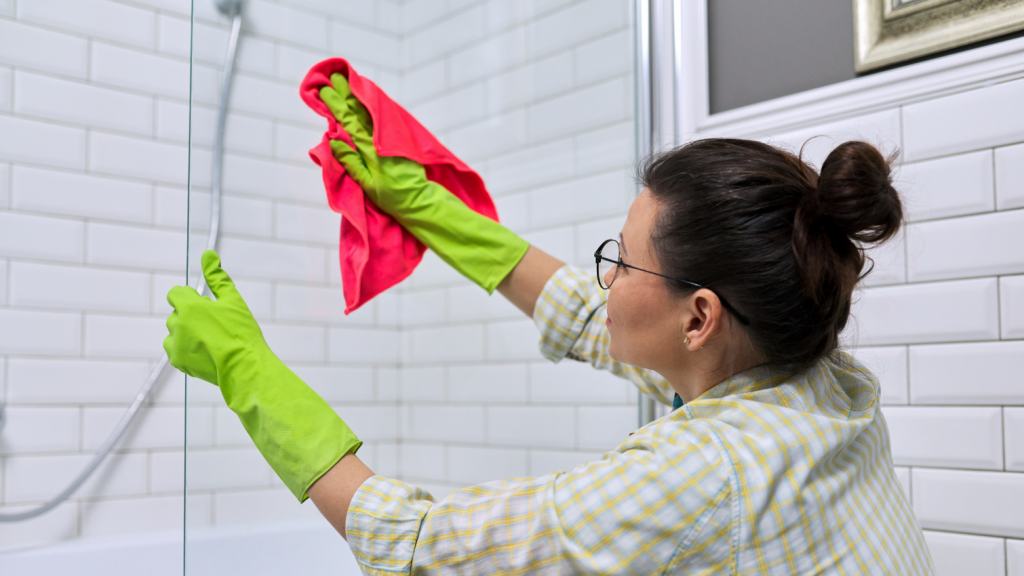
Step 2: Clean the shower area
Your shower area is where you’ll expect to feel clean and fresh so you’ll want to wipe down every single surface including your soap and clothing racks, floor trap, doors and shower tracks.
Tip: Remove water stains with shaving cream
If you’re cleaning your glass shower doors and notice some water stains, apply some shaving cream to the glass and let it sit on the surface for at least 15 minutes. To clean, wipe it with a microfibre cloth and rinse it off with some water.
Step 3: Clean rubber fittings
It may be easy to overlook this spot during your cleaning. However, cleaning your rubber fittings is a step not to be missed!
Fill a spray bottle with some white vinegar and spray the liquid onto the rubber fittings. If you suspect that mould may be growing on the fittings from the previous owner, you may want to let the vinegar soak into the fitting over a period of two hours or more.
Finish off by rinsing the fittings with water.
Note (for resale flats): Spores produced by mould may cause allergies and in turn result in rashes or irritation to the eyes and nose. Thus, when cleaning any fixtures with old rubber fittings, you may want to put on a pair of goggles, a mask and some gloves just in case!
Step 4: Clean toilet tiles
The final step to completing your move in cleaning is scrubbing your toilet tiles.
Before you begin scrubbing, you may want to apply the grout cleaner and let it sit for some time as it works its magic.
Step into a clean home
Nothing is as satisfying and rewarding as moving into a new and clean home.
Though it may feel overwhelming to clean the entire house from top to bottom, we hope that this little guide will help you get started with confidence!
Please note: The efficacy of the tips provided may vary depending on skill, quality of tools used and build of machines involved (if any).

